
Guide
How to Unpixelate an Image: Best Methods & Tips (2026)
Last updated: September 17, 2026
A pixelated photo is not a lost cause. Here is why pixelation happens, what AI can and cannot reconstruct, and the three best ways to fix a pixelated image — with the trade-offs of each.
Why images get pixelated
Pixelation is what an image looks like when it is asked to show more detail than it actually holds. Somewhere along the way, one of three things usually happened:
- The image was enlarged. A small source — an old scan, a thumbnail, a photo pulled off a webpage — gets stretched to a size it was never captured for. Each original pixel becomes a visible square block.
- The image was compressed. JPEG saves space by discarding detail. Do it hard enough — or re-save a photo every time it passes through a messaging app — and the blocks and smears start to show.
- The image was captured small. Screenshots of screenshots, camera rolls synced at “storage saver” quality, images downloaded from social platforms: all of these arrive at a fraction of their original resolution.
The common thread is discarded detail. That matters for everything below, because no tool — AI or otherwise — can put discarded detail back with certainty. What a good tool can do is estimate it convincingly.
What AI actually does when you unpixelate an image
An AI unpixelate tool reads the block boundaries and the texture that survives around them, then estimates the edges, surfaces and small structures that most plausibly filled the gaps. The result is a reconstruction: sharper to look at, plausible in its detail — and not a pixel-for-pixel recovery of what was lost.
That separates it from a sharpening filter. Sharpening only raises local contrast, so the blocks stay blocks — just louder ones. Reconstruction replaces the block pattern with estimated structure, which is why the result can look genuinely new rather than aggressively over-sharpened.
The honest version of the promise: the output is an estimate, and it may contain detail the model invented. Treat it as a better-looking interpretation of the image, not as evidence of what the original contained.
The tool on this site runs Pruna AI’s p-image-upscale, an image restoration and upscaling model served through the Replicate platform. The short version of the flow it powers is described step by step on the how it works page.
Method 1: an online AI unpixelate tool (fastest)
For most people and most images this is the right answer: nothing to install, no editing skill needed, and a result in under a minute. On this site the flow is:
- Sign in with Google. Your free credits live on the account — 2 credits on sign-up, no credit card required.
- Upload the image. JPG, PNG or WEBP, up to 10 MB.
- Pick a mode. Quick returns 4MP for 1 credit; Standard returns 8MP for 2 credits; HD adds stronger detail reconstruction at the same 2 credits and is available from the Pro plan.
- Compare and download. A before/after view shows what changed. Failed jobs do not use credits.
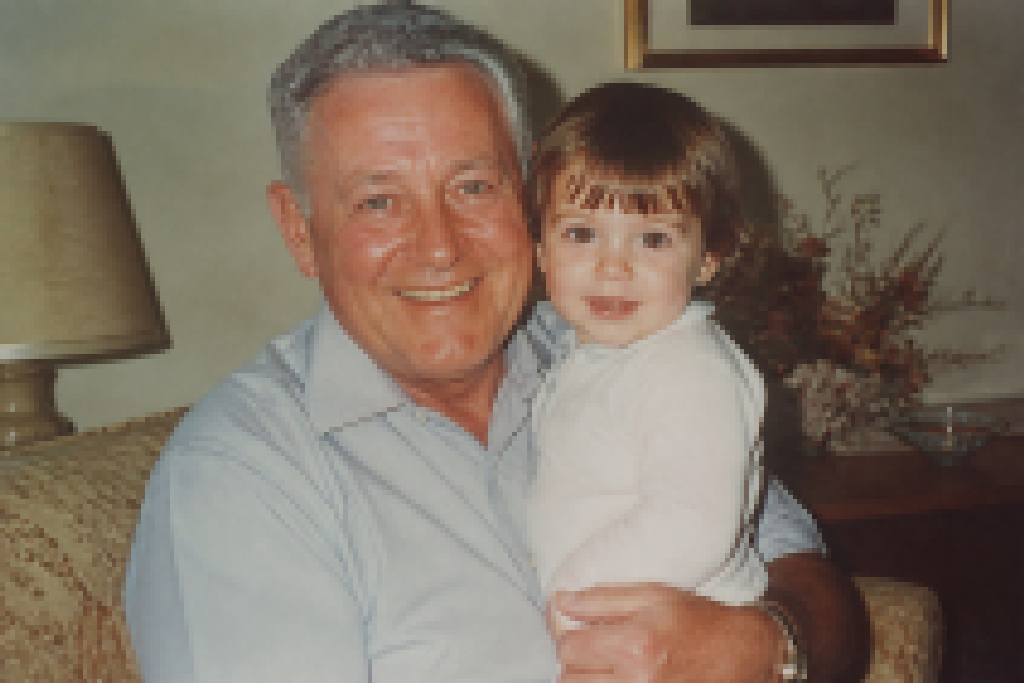 BeforeAfter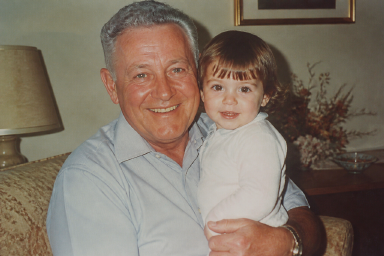
Drag the divider: the blocky half is the low-resolution scan the model receives, the sharp half is its reconstruction.
It works in a mobile browser too — there is no app to install. Uploaded images and results are kept for at most 14 days and then automatically deleted.
Method 2: Photoshop, the manual route
If you already subscribe to Photoshop and want per-image control, the usual toolkit is Image Size with the Preserve Details 2.0 resample option (enlarge while suppressing noise), followed by Smart Sharpen for edges. Photoshop’s neural filters include an upscaling option for small sources as well.
Set expectations accordingly: these tools raise contrast and interpolate new pixels, but they do not estimate missing texture the way a restoration model attempts to. On a mildly compressed photo the improvement can be exactly what you need; on a genuinely blocky source the blocks tend to survive the process. Budget 10–30 minutes per image and intermediate editing skill.
Choose this route when you need precise control over output dimensions and sharpening — or when you are already paying for the subscription and enjoy the work.
Method 3: desktop AI software
Standalone applications such as Topaz Gigapixel AI or Remini run the same class of AI reconstruction, either locally or through their own cloud. Their strength is batch processing: a whole folder of scanned family photos can be queued overnight instead of uploaded one at a time.
They carry the same caveat as any AI route — the detail is estimated, and faces in particular are approximated. Quality varies by source, so test the software on your worst image, not your best, before paying for a licence.
Which method should you use
| Method | Time | Skill | Cost | Best for |
|---|---|---|---|---|
| Online AI tool | Under a minute | None | Free to start (2 credits) | One-off images, screenshots, mobile fixes |
| Photoshop | 10–30 minutes | Intermediate | Subscription | Manual control, existing subscribers |
| Desktop AI software | Minutes per image | Basic | Licence or subscription | Batch folders of photos |
For a single pixelated screenshot, message photo or scan, the online tool wins on effort versus result. The other two routes earn their keep on control and batches respectively.
How to get a better result
- Start from the best source you have. The original file beats a re-screenshot of it — a screenshot of a screenshot has already lost detail twice.
- Crop before you upload. Results are delivered at a fixed output size (4MP or 8MP), so a tighter crop puts more of those pixels on the part you actually care about.
- Match the mode to the job. Quick is fine for a first look, Standard is the sensible default, and HD is worth it for images you plan to print or post.
- Judge text and faces carefully. Edges get estimated, so small text may become more legible — but results vary, and the output is not a factual transcription of what the text said.
- Download as PNG and keep it. Every re-save to JPEG, or re-upload through a chat app, starts the compression cycle again.
How to prevent pixelation next time
- Keep the original. Archive the untouched file before you share, resize or re-save anything.
- Send originals as files, not chat photos. Email, a cloud link, or your messenger’s document/file attachment option skips the automatic recompression that chat uploads apply.
- Download instead of screenshotting. A screenshot captures whatever low-resolution version the screen is showing; the download button captures the real file.
- Scan prints at a high DPI. 600 DPI is a good default for photographs — you can always downscale later, never the reverse.
- Check your cloud’s upload quality setting. “Storage saver” modes downscale photos on upload before you ever see it happen.
Frequently asked questions
Is unpixelating an image the same as upscaling it?
No. Plain upscaling stretches the pixels you already have and interpolates new ones between them, which often makes pixelation more visible. AI unpixelating estimates the detail the enlarged pixels should carry — edges, texture and text strokes are reconstructed as an estimate.
Can a pixelated image be fixed without losing quality?
The fix is a reconstruction, not a recovery: the original pixels are not brought back. A good result keeps the composition and colours of the source while estimating sharper detail on top. Starting from the cleanest, largest version of the image gives the best estimate.
Does unpixelating work on text in a screenshot?
It can improve the legibility of blocky text edges, and results vary. The output is an estimate — it is not a factual recovery of what the text said, so do not rely on it for anything important.
How much does it cost to unpixelate an image?
New accounts get 2 free credits, valid for 7 days, and no credit card is required. Quick processing costs 1 credit and returns 4MP; Standard and HD cost 2 credits and return 8MP. Failed jobs do not use credits.
Why is my image still pixelated after I upscale it?
Regular upscaling adds pixels without adding detail, so the blocks just get bigger. To improve how the image looks, the new pixels need plausible detail estimated into them — that is what AI reconstruction does. A very small or heavily compressed source will still limit the result.
What am I allowed to upload?
Only images you own or have the right to use. Uploaded images and results are kept for a maximum of 14 days and then automatically deleted.
More questions? See the frequently asked questions page.
Try it free — 2 credits on sign-up, no credit card required
unpixelate an image free